11.16.2010

Pumpkin Swirl Cheesecake

 Now I know I should probably start off my Thanksgiving recipes with a side or something, but hey…life is uncertain. Eat dessert first, right?! So here it is.

Pumpkin Swirl Cheesecake. I saw this recipe in Women’s Day magazine and knew this was what I was going to make for our dinner party. And it was soooo yummy! Not only that, but it was very visually pleasing with all the orange and white swirls. It looked so impressive, yet it was only a little more difficult than a boxed cake mix.

Shhhh, I mean I slaved in the kitchen for hoouurs making this dessert for my friends. ;-)

 Swirled Pumpkin Cheesecake Recipe

Now I have to be honest. This was not the most amazing cheesecake I have ever tasted, but it was REALLY good! And what I loved most about it was how SIMPLE it was to make! So quick and only a few steps. No hot water bath or anything! It didn’t crack, even though I used a spring form pan instead of the suggested pie plate. (Daring, I know. That’s me, walking on the wild side.Yeah baby.)

Swirled Pumpkin Cheesecake

Recipe from Women’s Day

Recipe Ingredients

Gingersnap-Pecan Crust

    • 24 gingersnap cookies (6 oz)
    • 1/2 cup pecans
    • 2 Tbsp sugar
    • 3 Tbsp butter, melted

Filling

    • 3/4 cup sugar
    • 2 pkg (8 oz each) cream cheese, softened ( I used 1/3 less fat and it was fine)
    • 2 large eggs
    • 1/4 cup milk ( I used 1%)
    • 1 Tbsp flour
    • 1/4 tsp salt
    • 1 cup pure pumpkin (not pumpkin pie filling)
    • 1 tsp pumpkin pie spice
Recipe Preparation
    1. Crust: In a food processor, pulse cookies, pecans and sugar until finely ground. Add butter and pulse to combine. Press mixture evenly into bottom and up the sides of a 9-in. pie plate and bake for 12 minutes.
    2. Heat oven to 350ºF.
    3. Filling: Wipe out food processor. Add the sugar and cream cheese; pulse to combine. Scrape down sides and add eggs, milk, flour and salt; process until smooth. Transfer 1⁄3 cup of the mixture to a small bowl.
    4. Add pumpkin and pumpkin pie spice to the food processor and process until fully incorporated. Scrape the mixture into the baked crust (no need to cool crust). Spoon the reserved cream cheese mixture over top and use a knife or spatula to swirl. Bake until the center is set but still trembles, 30 to 35 minutes. Let cool completely, then refrigerate until chilled, at least 2 hours or up to 2 days.

SO SO SO easy. And YUM!

Here are my results.

cheesecake2

Don’t the swirls look cool?!

cheesecake

The cheesecake started to sweat soon after hitting the table, but didn’t last long so it didn’t matter! I’m not sure how to prevent this, anyone have a suggestion?

Mmm, I kind of wish there had been just one little piece left over….Oh well, guess I’ll have to make it again! :-)

Thanks for visiting!

Tomorrow I’ll share my super simple (and free) centerpiece!


P.S.- Check out the awesome giveaway over at What I live For and leave some love for Judy. Her blog is adorable, be sure to take look around!


What I Live For

11.15.2010

DIY Cloth Napkins

I'm pretty excited about this post because I was just so proud of myself when I made these!! 

The other day I went to Homegoods to get, what I hoped would be, cheap cloth napkins and runners for our Faux-Thanksgiving dinner. Well to my surprise, the napkins were $15-25 for a pack of 12! And runners were $20-30. Waaayy more than I intended to pay. So since I was seeking a new sewing project anyway, I thought I would try to make them!
  Now, remember that this is only my third sewing project, but I think that they came out well!! I used a tutorial from Skip to my Lou as a reference.

My corners were not perfect, but I'm ok with that. I figure, with more practice, I'll get better! Who needs some cloth napkins?! hehe This fabric cost me $5 and I already had the thread...so I saved myself at least $30. Sweet!

So what do you think? You like? 

And don't you just love those little Facorns?! They are from Walmart, $3 for a bag! SP's probably getting a little sick of how they have popped up ALL OVER our home. But they are just so adorable! (And no worries about creepy little friends hitch hiking into my house from their real cousins on the ground outside) 
And what cloth napkin is complete without a little bling?!


I just used hot glue to stick the (f)acorns together, but next time, I will use either crazy glue so it's not as thick between them, or drill holes through the middle and string them together. The hot glue worked well for the moment, but definitely doesn't hold all that well. We had a few casualties as dinner progressed. Oh well, live and learn. Right? :-) 
But they looked cute!


So on some plates there were acorn rings and for the others I braided raffia and tied it around a (fake) leaf. So simple, so cute! 

Wanna know what I'm thankful for today? 

1. An unexpected extra hour of sleep this morning (Yes, I was almost super late for work. Apparently I'm sleep deprived.)

   2. My family. 

We have had a few difficult few weeks, with an unfortunate amount of sad news...but God is good and I am trusting that He is in control! I've recently been touched by the song, No Matter What by Kerrie Roberts. In the song Kerrie sings, 

"Before a heartache can ever touch my life, it has to go through Your hands...I know that You can find a way to keep me from the pain but if not, if not, I’ll trust you" 

God knows all and allows things to happen, so I just need to trust that He's working in and around me for His glory. As Steven Curtis Chapman said, "To Him the future's history." (Miracle of the Moment) 

I love that.

Ok, sorry for the heavy ending, but that has been on my heart and I thought I should share! 
 
Thanks for stopping by! 
Tomorrow I will share a sweet and tasty treat!
:-)

11.14.2010

Painted Chargers

Happy Monday, All! I hope you all had a fabulous weekend! I certainly did! Our dinner was so much fun and it was awesome to see friends that we haven't seen in a while! I kind of feel like the entire weekend was a whirlwind of planning, cooking, and excitement, but it was so worth it when we got the chance to share a meal and catch up with our adopted family. 

Well, I have decided that this is a good week to begin a We are Thankful week (or two)! From now until Thanksgiving, I will share some recipes, decorating ideas and crafts to celebrate the holiday, as well as something that I am Thankful for...be it silly, sappy or whatever I choose! Today, a little of both! 
But first, the beginning of my table planning: The Chargers


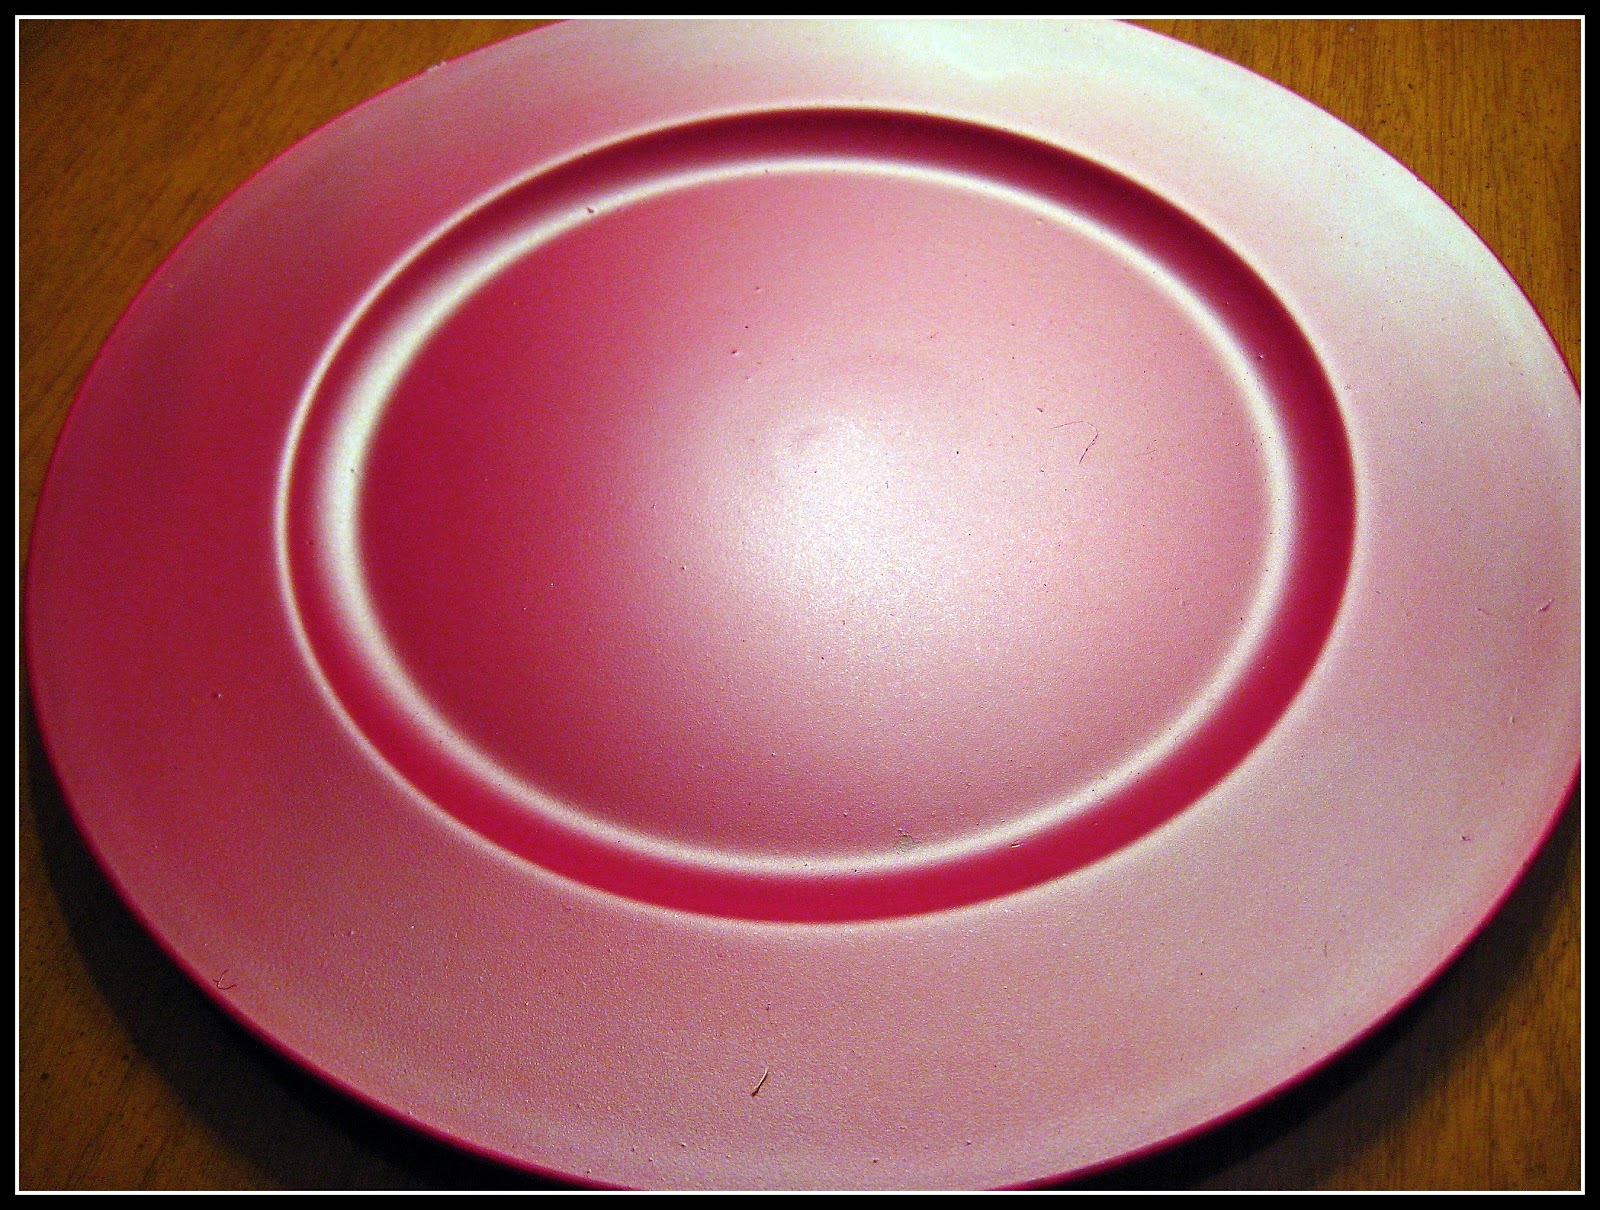
I picked up a few of these chargers from the Christmas Tree Shoppe, love that place! They were only $1, but had scratches and stuff all over so we decided to spray paint them. Right now, I'm totally on a red spray paint kick. SP said he feels like if he sets anything down for a minute he will come back and it will be red. Whoops! hehe  What can I say? It's pretty, and so festive! 

I decided to make these chargers red because then I can use them for Christmas as well. Thrifty! 

So here's the before:


See? All scratched up! Not cool. But now look...

 
Pretty!!
And here it is with a plate...


Love them. They are exactly what I was hoping for! They matched my homemade napkins perfectly! I'll show them off tomorrow!
And now, here's what I am thankful for today:


 Without this, my dinner would have been much more difficult to make! Love this baby! 

I'm also thankful for the opportunity to share a meal with these lovely people :-) I've known these girls for almost 20 years now. So weird to say that, I don't feel old enough to know anyone for 20 years! But it's true. And the guys, they're pretty great too..we'll keep them around ;-) So really, I'm thankful for everyone in this photo. Love you guys. Adopted Family Dinner 2.0 was a success!


Ok, I just liked this shot...my orange dress was a total last minute throw-together outfit that worked out really well! SP made me a new hole in the belt so I could wear it that high and it matched my boots perfectly! (even though you can't see them in this photo)

Come back tomorrow for cloth napkins and autumnal napkin rings! 
Thanks for visiting!


11.11.2010

Coconut Chicken Fingers

I know I promised you something yummy, but the something yummy I promised turned out to be not-so-yummy after all. I had been working on a recipe in my head for a few days, and finally decided to try it out. Well, long story short it was not the winner I had hoped it would be {yet!}. I have been tweaking it a bit and hope to give it another go soon. I'll post when it's done!

In the meantime, try this one!


Mmmmm. 


SP and I LOVE this recipe. It's awesome. If you like chicken fingers and coconut, you'll be in heaven. We usually have it with homemade fried rice and a veggie of some kind. I'll post our fried rice recipe sometime, it's great too. 


We had this last night and each time I make it I cannot wait to get it out of the oven. SO good. This is a photo from the first time I made it..the only thing we do differently now is that we put the coconut in the Magic Bullet for a few seconds so you don't get big pieces like in this picture. Other than that, it's perfect.


Crispy Coconut Chicken Fingers
Recipe adapted from Our Best Bites

3 chicken breasts, sliced into tenders
1-2 eggs 
1 C sweetened coconut flakes, finely chopped
1 C panko bread crumbs
1/2 tsp garlic powder
1/2 ground ginger 
1 teaspoon minced onions3/4 tsp table salt
pinch of pepper 

1. Preheat your oven to 450 and lightly grease a 9 x 13 baking dish. (You can also like a cookie sheet with foil and grease that for easy clean-up!) 


2. Combine the panko, coconut, and spices together on a large, deep set plate. Set aside.


3. Lightly beat the egg in a medium sized bowl. One at a time, dip the chicken in the egg, then in the panko mixture, and set it in the pan until chicken is gone.


4. Bake, uncovered, for 20-30 minutes (depending on the size of your tenders) or until juices run clear. 


Yum! 
Hope you're having a wonderful week!! 
See you tomorrow for a sneak peek of my Thanksgiving table! 

A Veterans Day Salute

My Dad is the best. 
Ask anyone.

He is a devoted husband, loving father, patient coach, active member of the community, successful businessman, and a serious Seinfeld fan. 

And as if those things weren't enough, he is also a veteran. My Dad served in the US Navy when I was a little girl. I can remember going to visit him on his submarine during Christmas when I was 3 or so. When I was in grade school, Daddy came in to my history class and talk to my classmates about being in the Navy. It was really fun and everyone loved it! 

I don't have many photos of his in his uniform on hand, they are all at my parents' house...but here are two I found.  


That second one sure made me giggle when I found it. 
Very "Daddy" 

So in recognition of Veterans Day, I want to send hugs and kisses to my Dad and the other members of my family that are serving in different branches of the military...and a big Thank You to all the service men and women who have and continue to represent and protect our country. 


"We often take for granted the very things that most deserve our gratitude."
 - Cynthia Ozick